A Step-by-Step Guide for How to Fix a Broken Tablet Glass
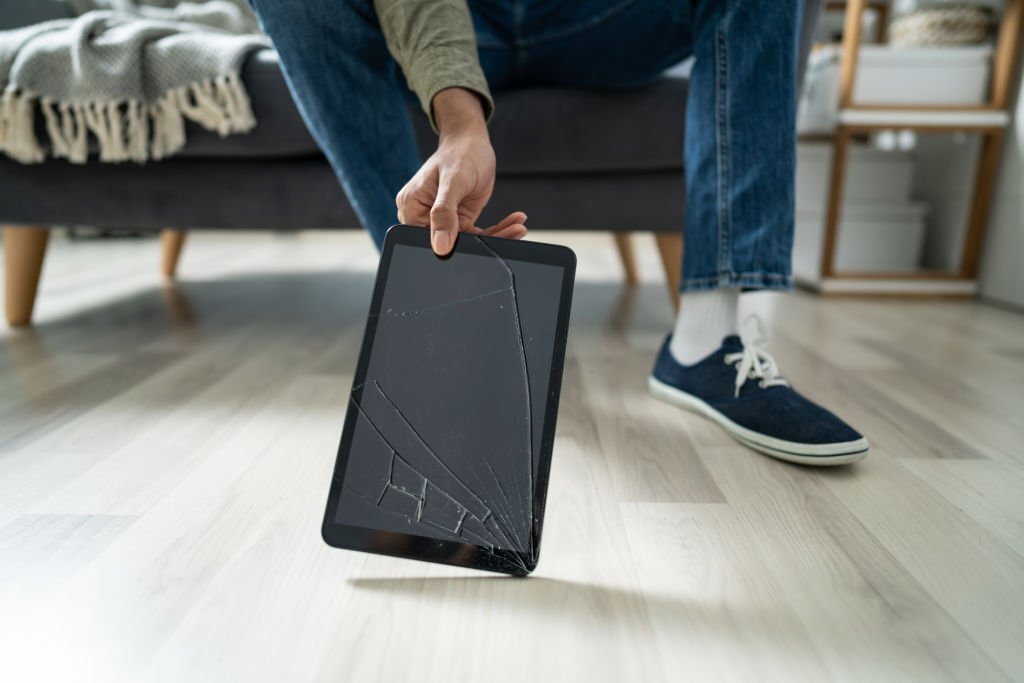
Accidents happen; one unfortunate consequence is a cracked or broken tablet screen. However, with the right tools and techniques, you can fix the broken glass of your tablet and restore it to its former glory. To help you save money on repairs and restore your tablet's full functioning, we'll show you how to mend a shattered tablet glass in this blog post.
Before attempting any repairs, be aware that fixing a tablet glass requires patience and precision. We recommend seeking expert tablet broken glass repair services assistance if you are hesitant about repairing yourself.
- Materials and Tools Needed:
- Replacement glass digitizer
- Small screwdriver set
- Heat gun or hair dryer
- Plastic pry tools
- Isopropyl alcohol
- Microfiber cloth
- Double-sided adhesive tape
- Tweezers
- Suction cup
- Safety gloves
Step 1: Prepare your workspace. Set up a clean and well-lit area to work on your tablet. Having enough space to lay out the necessary tools and keep track of small components.
Step 2: Turn off the iPad. Before starting the repair process, ensure your tablet is off and unplugged from any power sources. This will lessen the chance of any accidental injury or electric shock.
Step 3: Take out the shattered glass. Warm up the edges of the shattered glass using a heat gun or hair dryer to loosen the glue holding it together. Carefully insert a plastic pry tool between the glass and the frame to separate them. Gradually work around the tablet, gently prying the glass away from the device.
Step 4: Clean the frame. After removing the shattered glass, thoroughly clean the frame with isopropyl alcohol and a microfiber cloth. The new glass digitizer will adhere well thanks to this technique.
Step 5: Put some tape on. The double-sided sticky tape should be added in the amount necessary to cover the tablet's frame. Ensure it aligns correctly with the outer edges and any necessary openings, such as the home button or camera.
Step 6: Attach the replacement glass digitizer. Remove any protective film or cover from the back of the replacement glass digitizer. Align it with the tablet's frame, ensuring all the necessary openings match up. Apply gentle pressure to secure the digitizer in place.
Step 7: Reassemble the tablet. Carefully reattach any components or screws removed during the glass removal process.
Step 8: Test the tablet Power on your tablet and test the functionality of the new glass digitizer. Check for areas that might not respond to touch or abnormal display issues. If everything works fine, you have successfully fixed your broken tablet glass.
Conclusion: Fixing a broken tablet glass can be a rewarding DIY project if you approach it with the right tools and instructions. With the assistance of tablet repair services in Chilliwack, you can save money on repair costs and restore your tablet to its original condition. However, if you are uncomfortable with the repair process, it's advisable to seek professional help to ensure the best possible outcome for your device.
Comments
Post a Comment